Let me tell you how the tiny wings bird was born. So when I started making angry birds, my family thought it was the coolest. Then when i was asked to make a cut the rope plushie I wasn't going to say no and it was a big hit. Then my family started asking if I could make all kinds of plushies and the first one they asked for was this tiny wings plushie. I worked really hard trying to get the pattern perfect and finally after a day's work and lots of trials and errors I finally finished the perfect tiny wings bird.
I am a visual learner so there will be a lot of pictures.
Now on to the tutorial.
You will need:
-blue or teal fleece or flannel
-orange felt
-white felt
-black felt
-sewing notions
-pattern (
email me or leave a comment below with contact information and I will send you the pattern)
First cut from the main fabric three body pieces and two back body pieces.
Now sew the eyes using
this tutorial or
this one.
Alot of pictures there. Now make the tail feathers by tracing it onto tissue paper and put it on two squares that are bigger than the pattern, right sides together. Pin and sew on the line. Then rip off the tissue paper, clip the corners and the curves and turn it right side out and stuff.
Now sandwich the tail feathers between the two back pieces and sew.
If it did not completely catch don't get frustrated, I did it too. Just take out the part that didn't catch or take out the whole seem, either way you will have to sew over it again. It should look like the last picture.
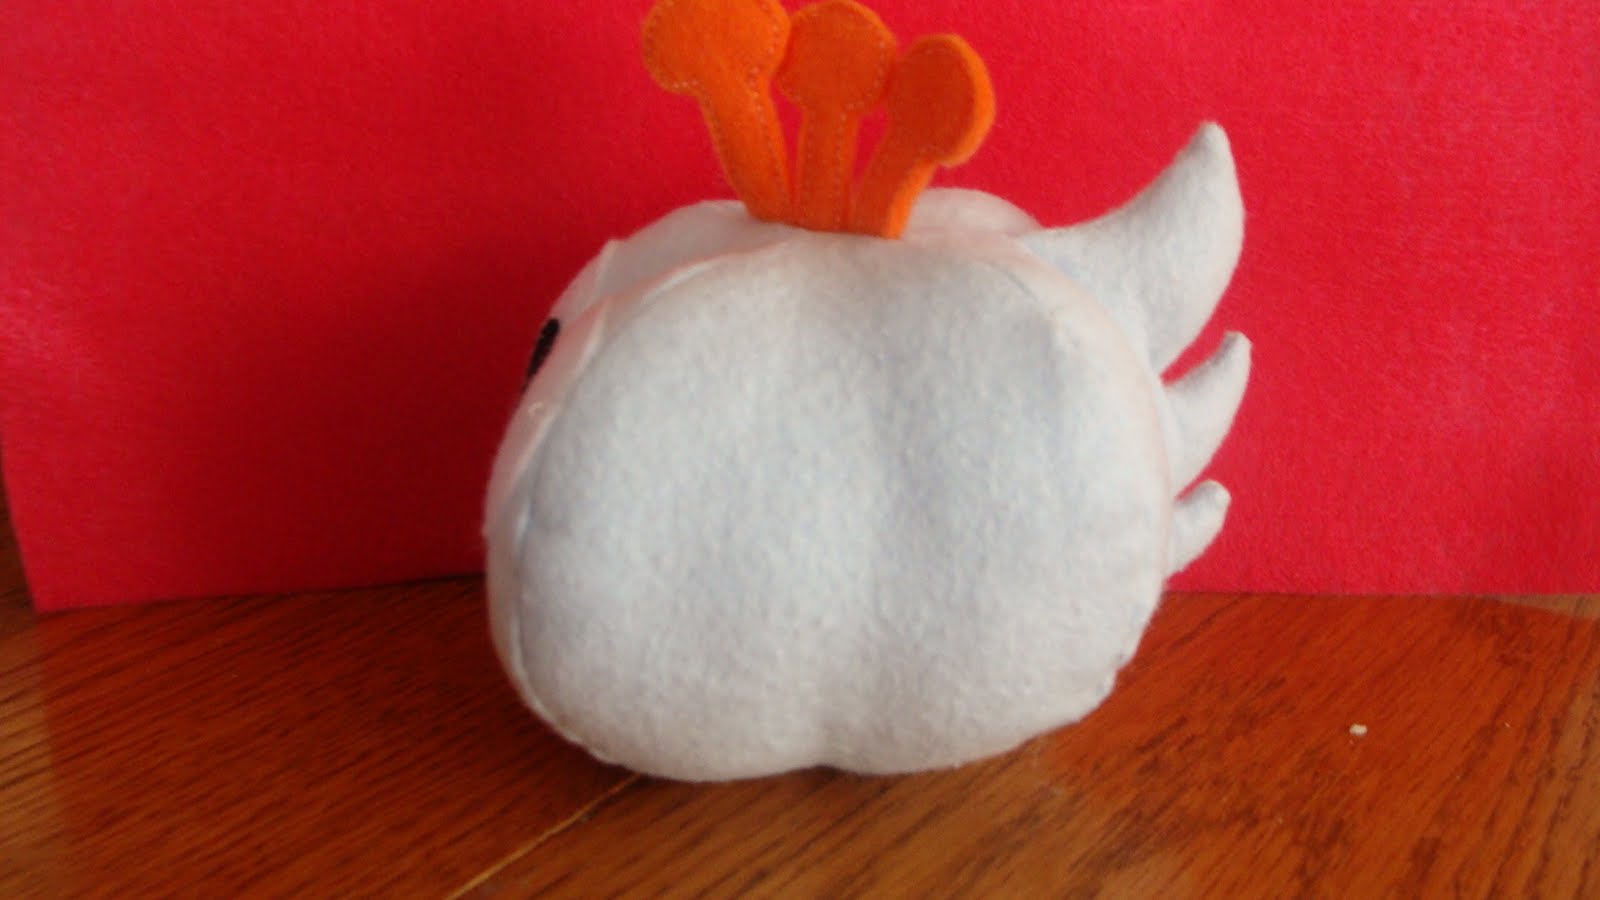
Now make the head feathers. Simply fold the felt over, draw three top feathers, sew and cut.
Now sew the body following
this tutorial on how to sew the body together. Make sure that you pin the head feathers into the seam or you will be doing some seam ripping.
Almost done all you need to do is make the beak and the wings. For the beak use
this tutorial.
Lastly make the wings. cut out two wings and hand sew them on.
Finished bird.
My two birds.
If you have any questions or need more directions
email me or leave a comment below.
Linking
HERE,
HERE,
HERE.
Featured on
craft gossip.
*If you have used any of my tutorials email me pictures at adeelarose@gmail.com*
♥Adeela♥