Showing posts with label Craft. Show all posts

Wednesday, March 27, 2013

Beaded bracelets and rings

I did some beading lately. I find it fun and I love matching the beads with my wardrobe.  So last night I decided that I didn't have enough jewelry so there I went...


I made two sets of bracelets the first set is a red and pink set.


The second set is blue and green.


Rings...


These two are my favorite.


They are so pretty! ^__^

The holder is actually thrifted.

Happy beading!


♥Adeela♥

Tuesday, June 12, 2012

Ipod Cover/Stand

So I just got an Ipod and didn't like the cases I saw at the mall, so I made one. Isn't that what's awesome about sewing? If you can't find something you like, you make it.
I whipped this up in an afternoon. I found the tutorial here. I used plastic canvas with felt covering it for the inserts, it worked great. I love the results!


Happy sewing!


♥Adeela♥

Monday, January 23, 2012

baby gifts

A relative of mine is having twins, a boy an a girl, so my mom and I sewed up some gifts for them.

First up is pee pee teepees or wee wee wigwams. It will come in handy with the baby boy. Tutorial here.


Next I made these bunny blankies one for each baby.  I used fleece on one side and cotton on the other. Tutorial here.


I made these two hats from some extra fleece my mom used making two baby blankets. Tutorial here.


I made two fabric books from panels I got at fabricland. The first one is for the girl and it is a safari theme.


The second one is for the boy and is a farm theme.


Me and my mom crocheted two sets of a hats, mitts and booties. My mom crocheted the blue set and I crocheted the greenish set. Tutorials: booties(there are seven parts to it), baby hat, I just kind of made the mitts like the booties except a different shape.


Last up is this playmat. I took four panels and sewed them together with binding.


I appliqued some fuzzy fabrics on the animals for feeling.


I also attached some toys in the center. The butterfly has beads in it for noise. the sun has part of a chip bag in it for noise. the other ones are flat.


Happy Crafting!


♥Adeela♥

Saturday, December 17, 2011

Guest Post: Sweet Lemonade

Hello! Today i am happy to welcome Naomi from sweet lemonade. She is very talented and has awesome ideas so go and check out her blog.

Hello, everyone! I'm Nay, or Naomi, from Sweet Lemonayde! I am a teen who loves to sew and do crafts. Thanks for letting me be here!
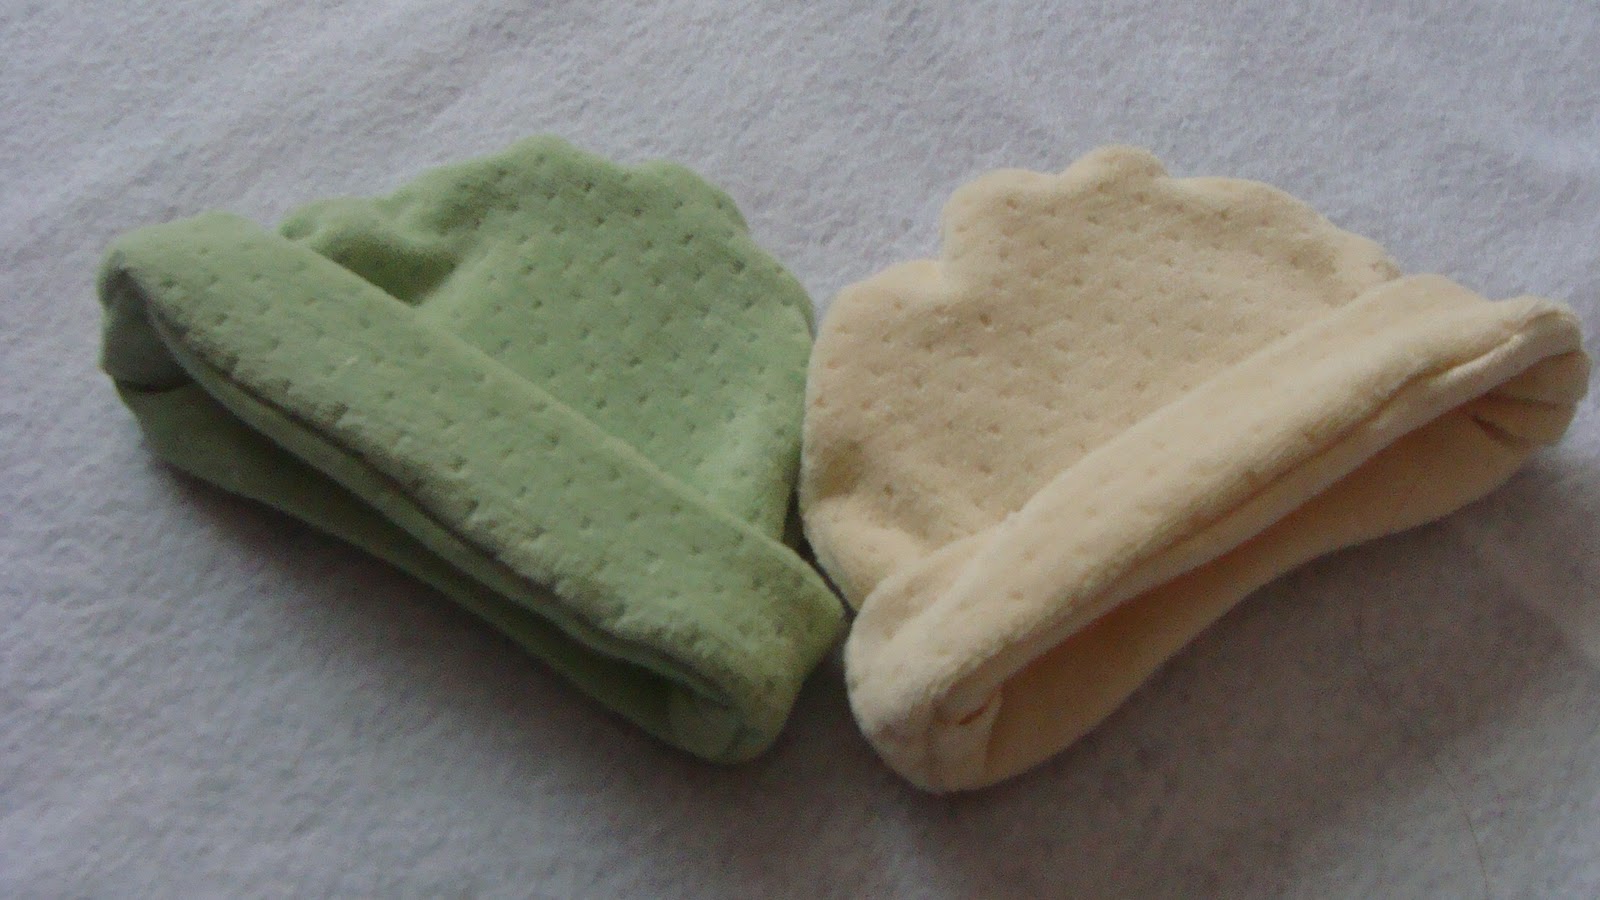
Today I'm going to share a super easy tutorial for fleece rainboot liners--or any boots, really. They only take about 20 minutes!

Materials: 1/2-1 yard of fleece (or flannel, or any soft, cuddly fabric you have on hand), scissors, measuring tape, pins, sewing machine, thread, boots (for a guide)

Measure from the ankle of your boot to the top.

Decide how wide you would like your cuff. Double this number and add an inch or two. Add this number to your top-to-ankle boot measurement. Cut out 2 large rectangles by that height and a large width.

Wrap the rectangle around your boot like so and pin in place.

Cut off excess fabric, leaving seam allowance.

Now, if you're very precise you can repeat the whole wrap-and-pin process with the other rectangle. If you're like me (lazy) then just fold your 2nd rectangle in half, put it under the first, and cut off excess.

Fold a rectangle in half, right sides together, pin, and sew up the side. Repeat with the other rectangle. Tada! Done. You should now have 2 tubes. Er, I mean, liners.

You can either put the liner on first and stick your leg into your boot (like a leg warmer), or you can place the liner inside your boot with the seam at the back, fold the top edge over an inch, fold it over so your previous 1" fold lines up with the top of the boot, and fold over the whole top of the boot.

Warm and cozy boots...
Come stop by my blog and say hi! Thanks so much for letting me be here, Adeela! You're awesome!

(o^__^)o